Building your own MCP Server with .NET and connecting it to Copilot Studio
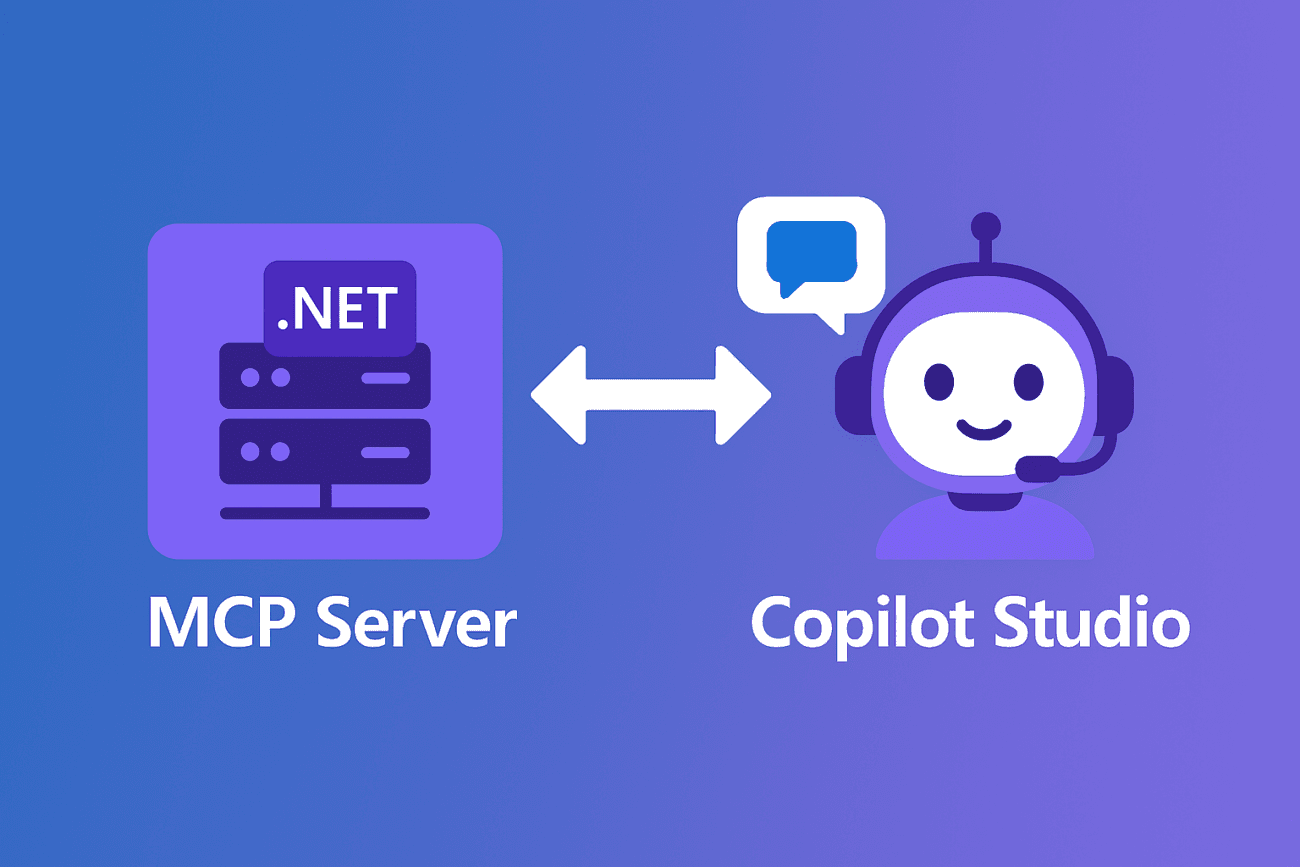
The Model Context Protocol (MCP) is quickly becoming a key building block for extending AI agents with powerful, domain‑specific capabilities. With .NET, developers can build their own MCP Servers to expose custom tools, actions, and data in a clean, agent‑friendly format. In this article, we’ll walk through how to create a simple MCP Server using .NET, publish it as an HTTP‑accessible endpoint, and connect it to Microsoft Copilot Studio so your agents can call it just like any other tool. If you’ve been looking to bridge your existing systems with Copilot‑powered agents, this guide will show you exactly where to start.
Create your own MCP Server
Microsoft launched a new template to create your own MCP Server using C# SDK for MCP. You can find the pre-requisites and the instructions to create this type of project in the following article.
Based on the Lunch Roulette MCP project built by James Montemagno, we decided to build the same MCP server, which has the following tools: Get restaurants, Add restaurant, Pick random restaurant and Get visit statistics. An important difference is that our project is accessible via the HTTP protocol, whereas the original project is not (it creates an executable file).
You can find the source code of the project here.
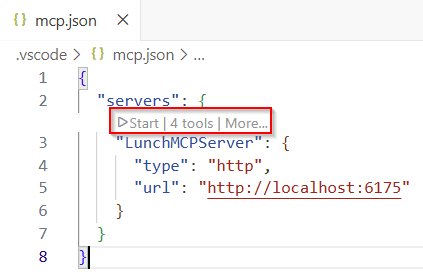
We can use Visual Studio Code as an MCP client, and test whether the MCP Server is working as expected or not (we also need access to GitHub Copilot in Visual Studio Code) . In our case, we created an mcp.json file in the workspace, which defines that the server is running in the local machine using http protocol (not https, as it seems there are some issues) and port 6175 (you can change it for another one as long as it is not being used by another process):
If we build and then run our project (using dotnet build and dotnet run), we will be able to start our MCP Server and use any of the tools, like you can read in the following screen capture:

As we can see, the server is calling the right tool (get restaurants) when we write something like “List 5 restaurants“, and returning the expected results.
Finally, we only need to make the MCP Server reachable through a web address, so it can be used within a Copilot Studio agent. Using Microsoft Dev tunnnels and Port Forwarding in Visual Studio Code, we can run a local web service and make it available to others over the internet.

The Forwarded Address value (an URL) will be used when we configure the MCP Server client in Copilot Studio.
Important! We are configuring the visibility of the forwarded access to Public for testing purposes. As this MCP Server has not authentication defined, it can be accessed anonymously over the internet. Please, read carefully how to use dev tunnels and its security configuration before testing.
Call the MCP Server from Copilot Studio
In any agent designed with Copilot Studio, we can Add a Model Context Protocol server (Preview) and enter the required fields (server name, description, URL and authentication method):
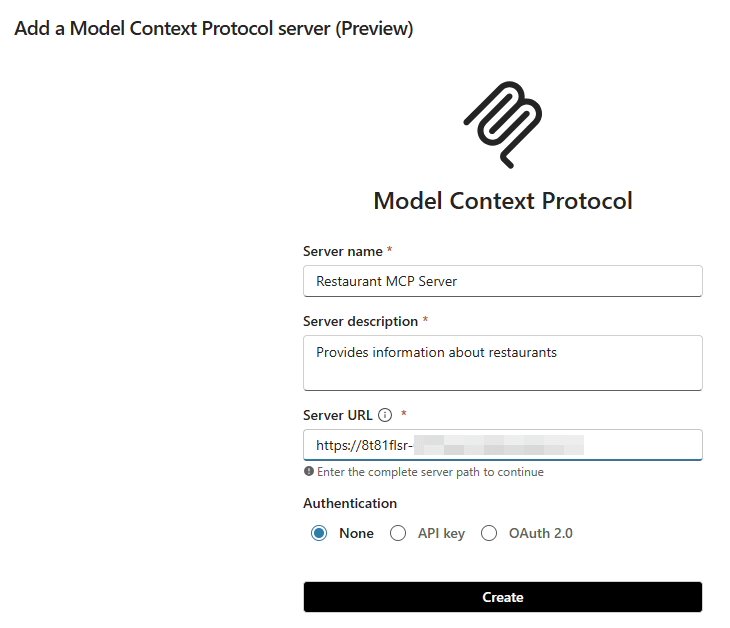
Depending on the authentication method used by your MCP Server, you need to configure the correct values in the Authentication section. Finally, you will need to create a new connection to the MCP Server, and add it to the agent.
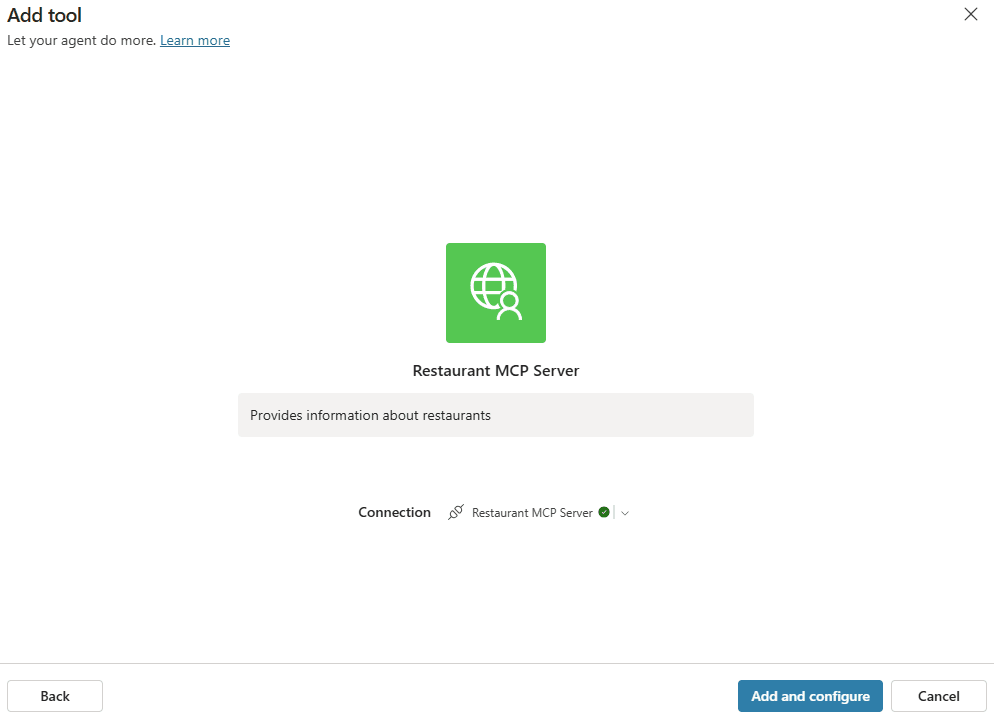
At this point we should be able to configure the MCP Server: Name, input values, and most importantly, tools and resources that will be used by our agent:
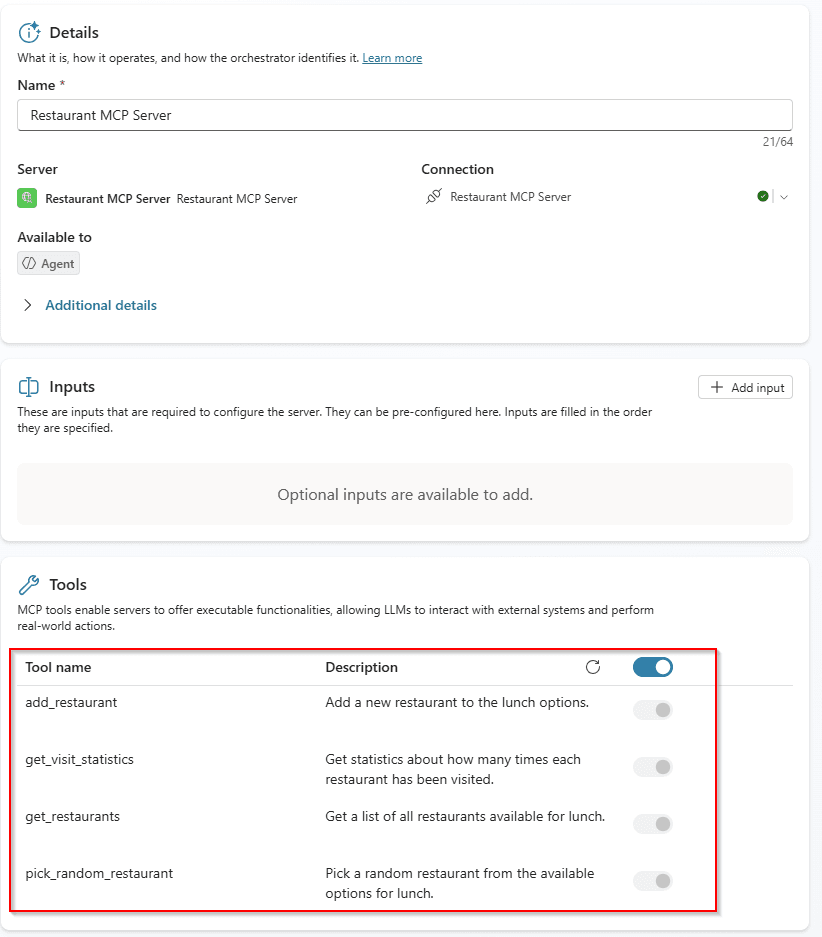
One of the most interesting features is that we can enable all tools, or only select some specific ones that will be used by our agent.
Now we should be ready to test the MCP Server from our agent, using any prompt that will trigger a call to any of the tools. For instance, if we write something like “Pick a random restaurant“, the activity shown by Copilot Studio would be the following:
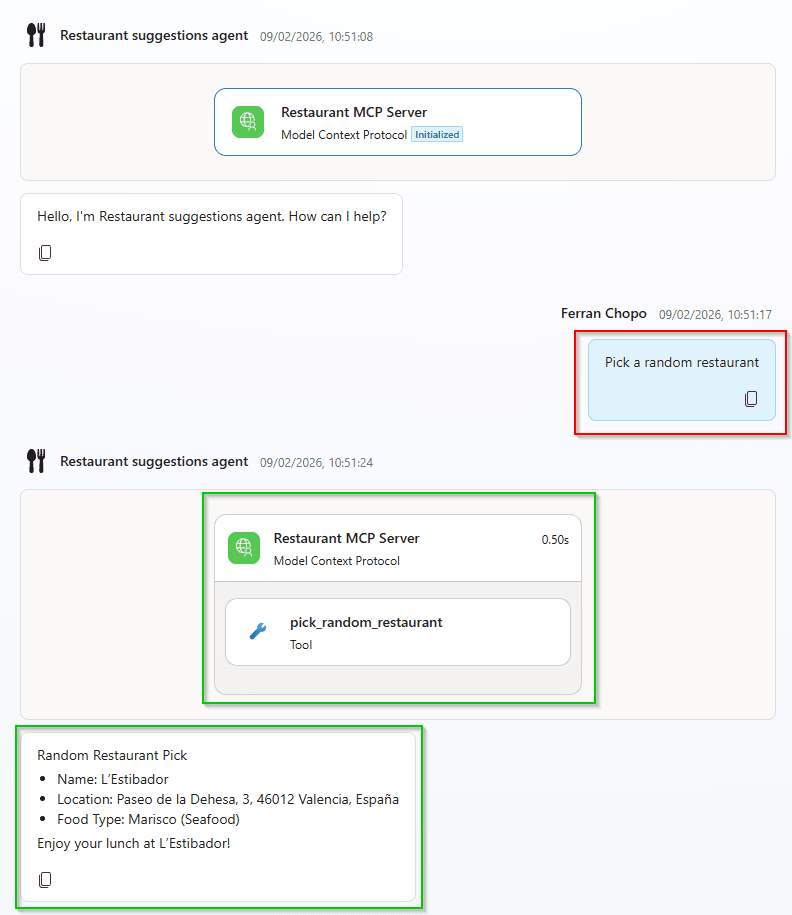
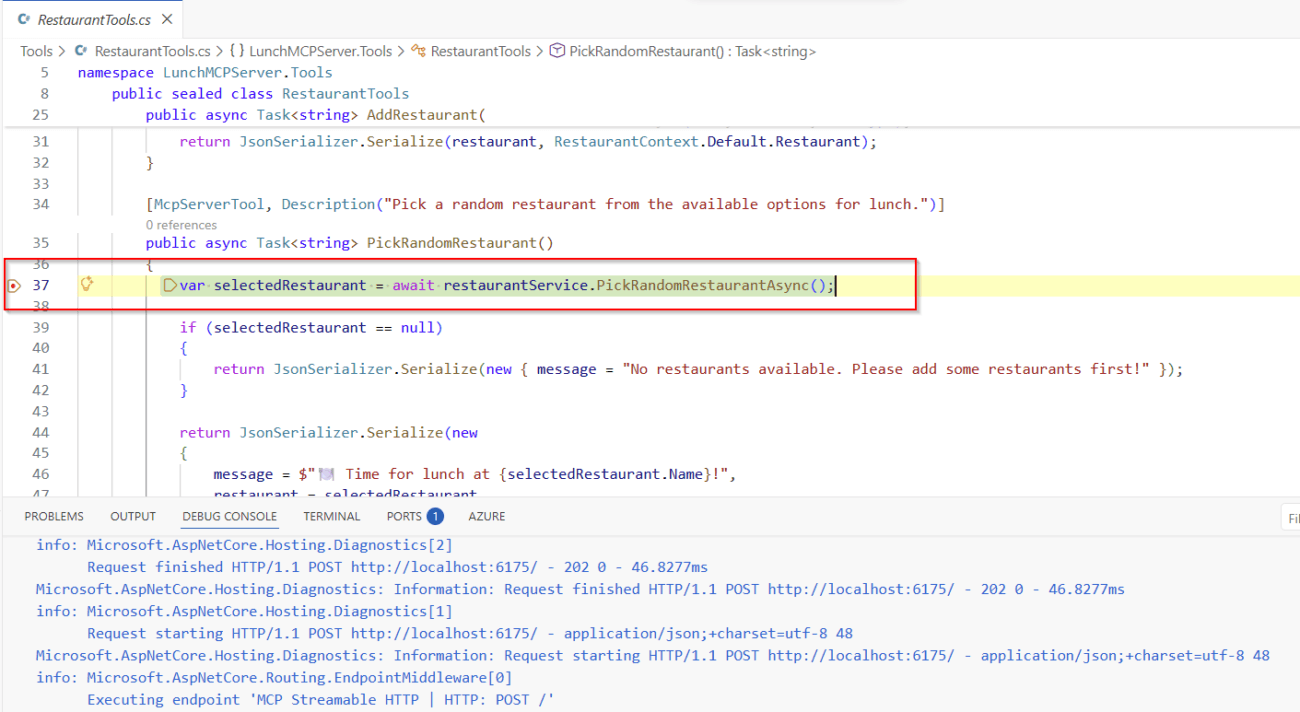
And if we debug our MCP server in VS Code, we should be able to intercept the call to the right tool:
Be aware that the first time the agent uses the MCP Server, the user will receive a message to open connection manager and verify his/hes credentials. This is normal and part of the process, although the Microsoft Power CAT team provide some useful guidance to avoid it in this article.
Finally, we could update our MCP Server to use API or OAuth authentication and then deploy it to Azure.
Conclusions
With the latest updates to the Model Context Protocol ecosystem, building your own MCP server with C# has become dramatically simpler and more approachable for developers. Setup can now be achieved with a clean .NET project, minimal boilerplate, and a clear structure for defining tools and resources.
These improvements also mean that connecting your custom MCP Server to Copilot Studio is no longer an advanced or experimental workflow. Your MCP Server can expose specialized logic, safely handle contextual data, and act as a powerful extension to your agents, bringing real back‑end intelligence into conversational or autonomous agent scenarios.
In short, developers now have everything they need to build, test, and integrate robust MCP-based capabilities end‑to‑end, using familiar .NET tools and the evolving power of Copilot Studio.